05. Create/Migrate Procore Credentials with Developer Managed Service Accounts
Building a Data Connection App with DMSA
Click here for demo video
Create a New App
-
- Open your browser and navigate to the Procore Developer Portal page (https://developers.procore.com).
- Click ‘Sign In’ to log in to your Developer Portal account.

- Click on ‘My Apps’ and click on ‘Create a New App’


- In the Create New App dialog box, enter the App Name as ‘Procore DMSA App’. This will be the name you use to refer to your application internally within your organization.
- Click the ‘Create’ button when done.


Add OAuth Component with ‘client credentials’ Grant Type
DMSA-enabled data connection Apps specify the OAuth component grant type as client credentials in your App manifest. Use the following steps to add an OAuth component to the manifest and define the grant type
Please refer to the video demonstration in the link below for reference to execute the following steps:
https://developers.procore.com/documentation/developer-managed-service-accounts


-
- In the Developer Portal, navigate to the ‘Manage Manifests’ panel for your App.


- Select ‘Create New Version’.


- To add an OAuth component to your manifest, click on ‘Copy Code Snippet’ under Data Connection.


- Paste the code snippet between the brackets of the ‘O auth’ section


- Code Snippet highlighted in Red given below for your reference. Replace the below content for components
-
"components": {
"oauth": {
"instances": [
{
"grant_type": "client_credentials"
}
]
-
- After copying the code snippet and replacing the content, it should look like the screenshot below


- After updating the App Manifest, select ‘Create’ in the lower right-hand corner.


- In the Developer Portal, navigate to the ‘Manage Manifests’ panel for your App.
Specify Tool Permissions Using Permission Builder
Once you have defined the grant type for your OAuth component as client_credentials, you can use the Permission Builder to specify the company level and project level tool permissions that are required to install and use your application.
-
- In the Manage App view, scroll down to the Manage Manifests section and select ‘Create New Version’.


- Under App Tool Permissions, on the Create New Version page, select Open Builder.


- In the Permission Builder window, select the Company and Project level permission levels
a. Admin = Admin
b. Directory = Admin
c. Documents = Admin
d. Home = Read-Only

- Click on ‘Update Manifest’. The OAuth component in your manifest is updated with the permissions you defined in the Permission Builder.
- Click on Create to save your updates and create the new version of your manifest.


- In the Manage App view, scroll down to the Manage Manifests section and select ‘Create New Version’.
Promote Updated Sandbox Manifest to Production
After you have successfully tested and validated your updated manifest in the development sandbox environment, you can promote it to the production environment and use your production OAuth credentials with your App.
Click on ‘Promote’ option


In the Promote Manifest, click on ‘Promote’ button again.


In the Production Credentials pop up, COPY AND SAVE the Production Client Key and Client Secret that is fetched safely as you will not be able to retrieve the same Client Secret from your developer portal account after promoting it to Production. Click on Close.


Once the credentials are promoted to Production, The Production App Version Key will be generated under Manage Manifest under ‘Production’ [Please save this as we need this to create the Custom App in Procore.


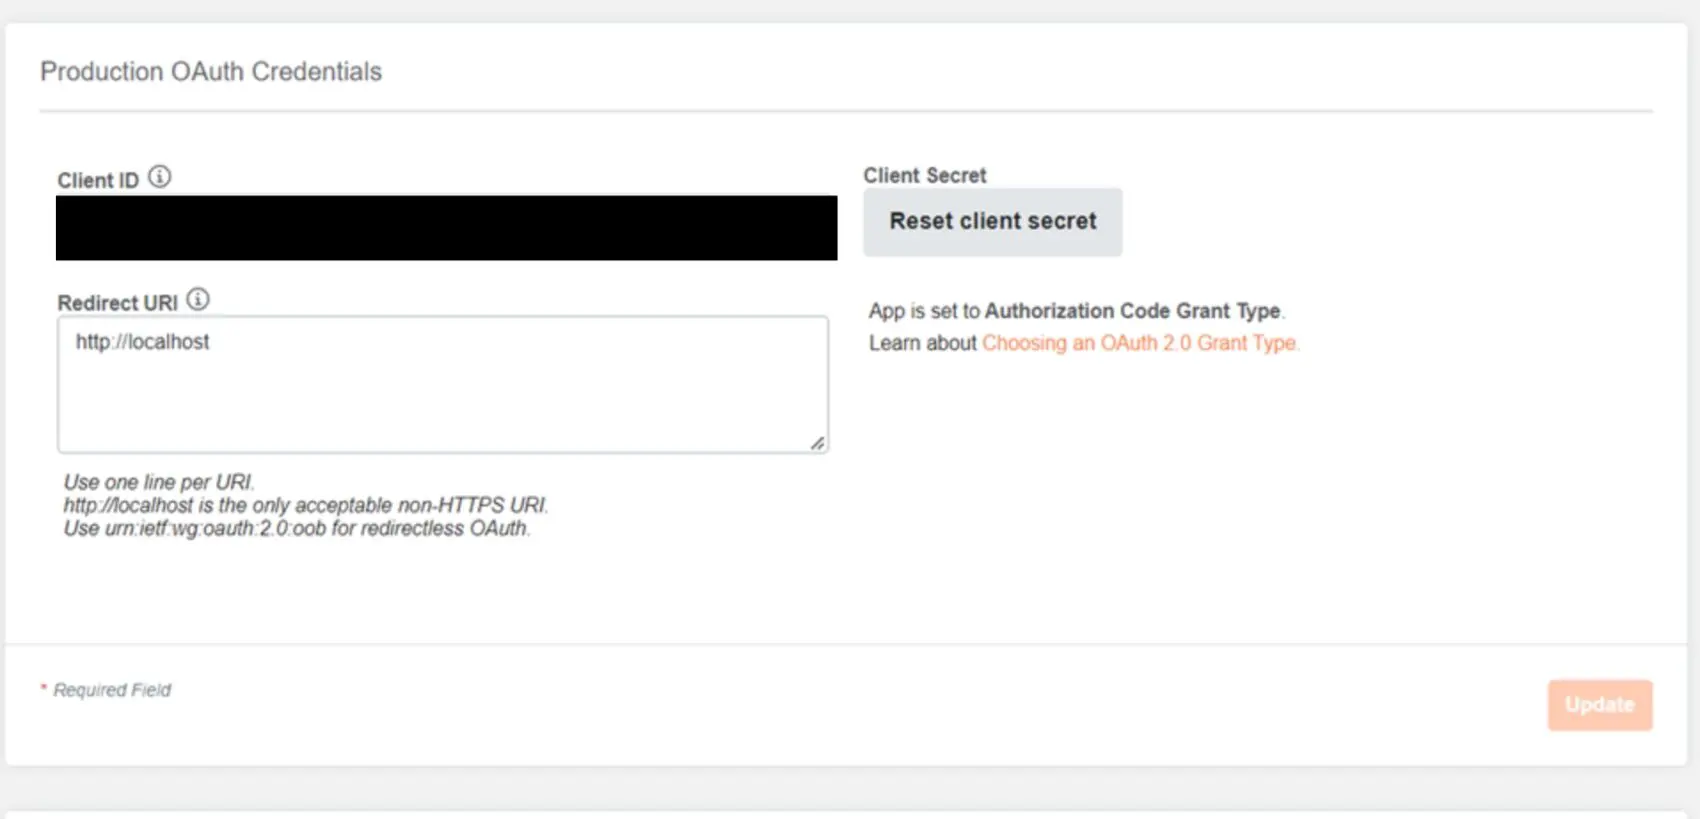
Production OAuth Credentials will be updated with just displaying the Client ID. The same Client Secret will not be displayed in here.


App Installation and Management
DMSA-enabled Apps are installed by Procore company administrators either from the Procore App Marketplace or as custom installations.
Pre-Requisites
- Required User Permissions: ‘Admin’ level permissions on the Company level Directory tool.
How to Install a Custom App
-
- Navigate to the Company level Admin tool https://app.procore.com/
- Under ‘Company Settings’, click on ‘App Management’.


- Click on ‘Install App’ and choose ‘Install Custom App’


- Enter the 36-character ‘App Version ID’ provided to you by the custom App developer.


- Click ‘Install’.
- Click ‘Install’ again to confirm the installation.
- Click on ‘View’ next to the newly installed App.


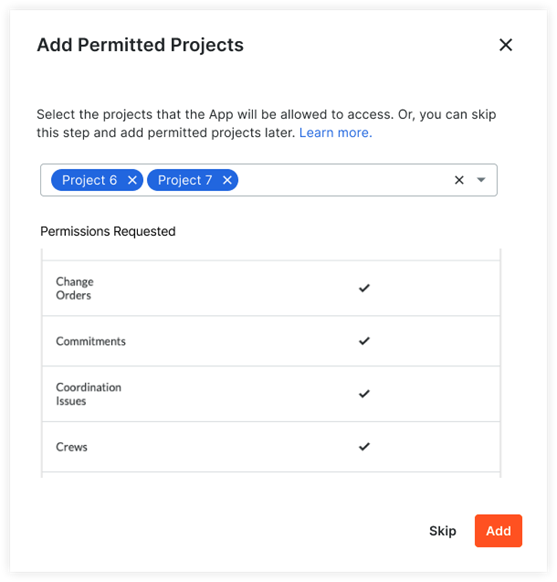
- Click on ‘Permissions’. Under Permitted Projects, use the ‘Select Projects’ drop-down to select all the Projects you want to apply the App configuration to and click on the ‘Add’ button.


- All the Procore Projects will be added to the newly installed DMSA Custom App.
How to add the newly created Procore Projects to the DMSA App
-
-
- In the Procore Portal click on Company Tools and select Directory.


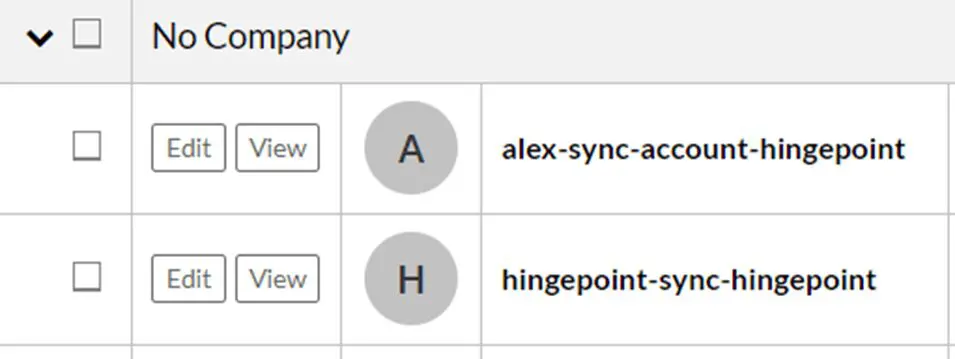
- Select the App and click on Edit button.


- Important Note: Do not make any changes to the Company Permission Template.
- In the Project settings, check the first check box “Add [App Name] to all new projects in HingePoint and Save. All the newly added Procore projects will be added to your DMSA App.


- In the Procore Portal click on Company Tools and select Directory.
-
Once all the above installations are complete, log in to the Sync Tool application and create a New Procore Integration using the Production DMSA credentials. Create a new connection using the above Procore Integration. Start the sync process.
How to add all the existing Procore Projects to the DMSA App at once:
-
-
- In the Procore Portal, click on Company Tools and select Directory.


- Select the App and click on the Edit button.


- In the Project settings, under the DMSA App – Does Not Belong To’ list, click on ‘Add All’ button. These are the list of all the Procore Projects available that are not yet added to the DMSA Custom App.


- Note: If there are more than 2k Procore projects, The ‘Add All’ button will be disabled.
- Once all the projects are added, click on the Save button. All the projects will be listed under ‘Current Project Settings’


- In the Procore Portal, click on Company Tools and select Directory.
-
Useful links
-
-
- Migrating to DMSA:
https://support.procore.com/products/online/user-guide/company-level/admin/tutorials/migrating-to-dmsa - Deprecation of Traditional Service Accounts:
https://developers.procore.com/documentation/service-account-deprecation - Developer Managed Service Accounts:
https://developers.procore.com/documentation/developer-managed-service-accounts - Creating an App Manifest:
https://developers.procore.com/documentation/building-apps-define-manifest - Install a Custom App:
https://support.procore.com/products/online/user-guide/company-level/admin/tutorials/install-a-custom-app
- Migrating to DMSA:
-


