03. Edit Integration
Step 1: Click on Integrations from the left navigation menu

Step 2: Click on the edit link of the Integration that needs to be edited


Step 3: SharePoint Integration
- If the Integration is associated with a Connection, user will be able to update only the Client Secret field
- Click on Save to save the changes.


- If the Integration is not associated with a Connection, user will be able to update the SharePoint Web URL, Client Key and the Client Secret fields.
- Click on Save to save the changes.


Step 4: Procore Integration
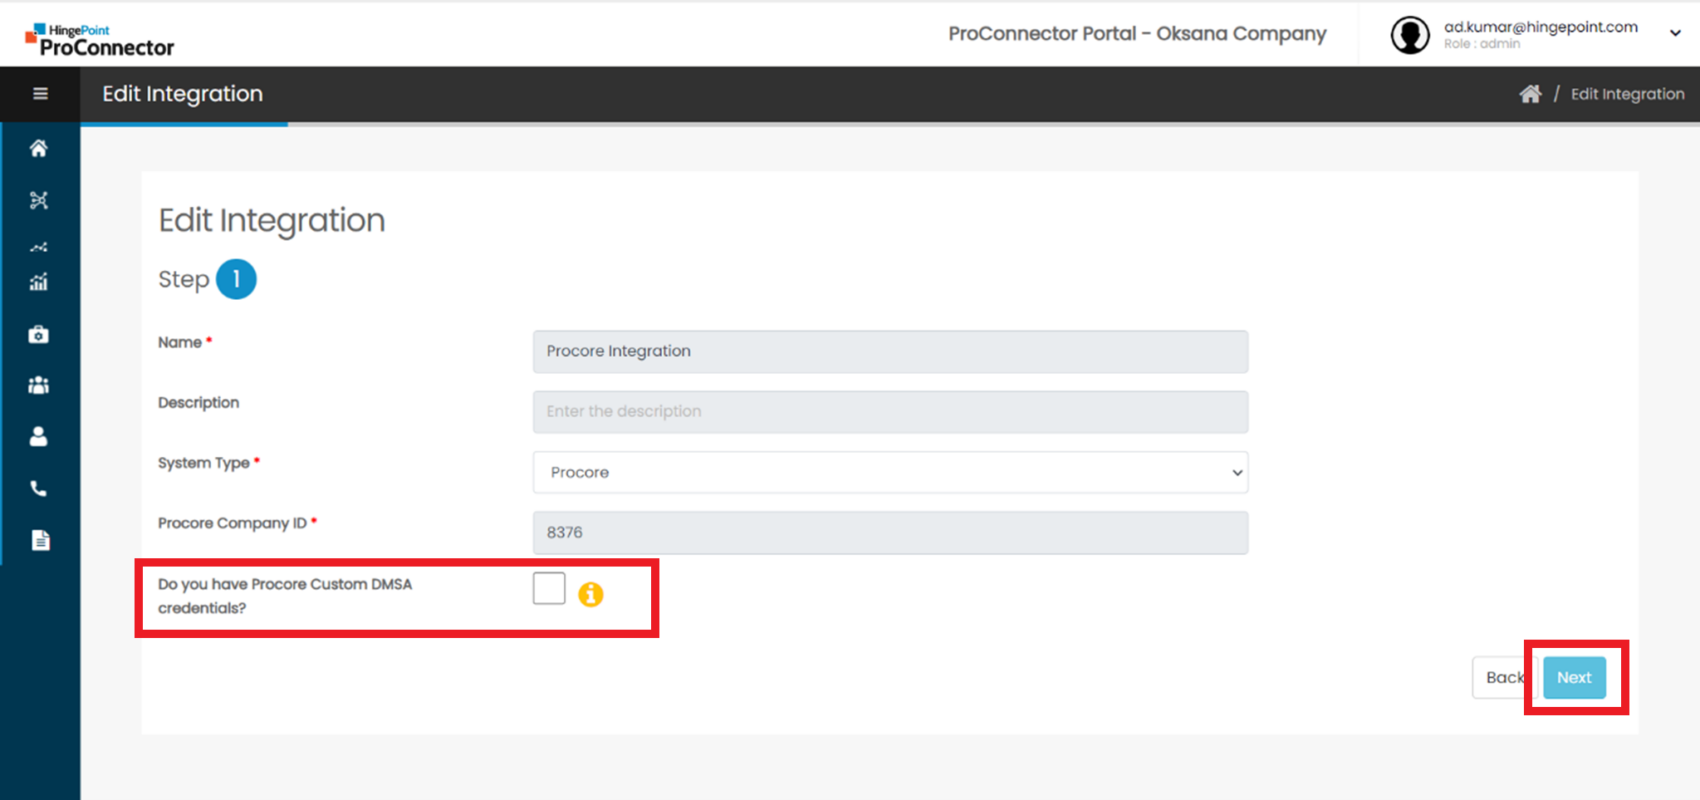
- Click on the Edit link of an existing Procore Integration which has the DMSA keys keyed in when added


- In the Edit Integration page, the DMSA credentials will be displayed. Click on the Next button.


- In the Edit Integration page Step 2, click on Validate DMSA button


- If the validation is successful, success message will be displayed.


- Click on Ok and click on Save button to save the changes.


Step 5: Procore Integration
- Click on the Edit link of an existing Procore Integration which does not have the DMSA keys keyed in when added
- If the Procore Integration does not have the DMSA keys keyed in, it means that it is using the Marketplace App credentials that is integrated in the code.


a. In the Edit Integration page, click on the Next button


b. In the Edit Integration page, click on Validate DMSA button. If the validation is successful, success message will be displayed.


c. Click on Ok and click on Save button to save the changes.


